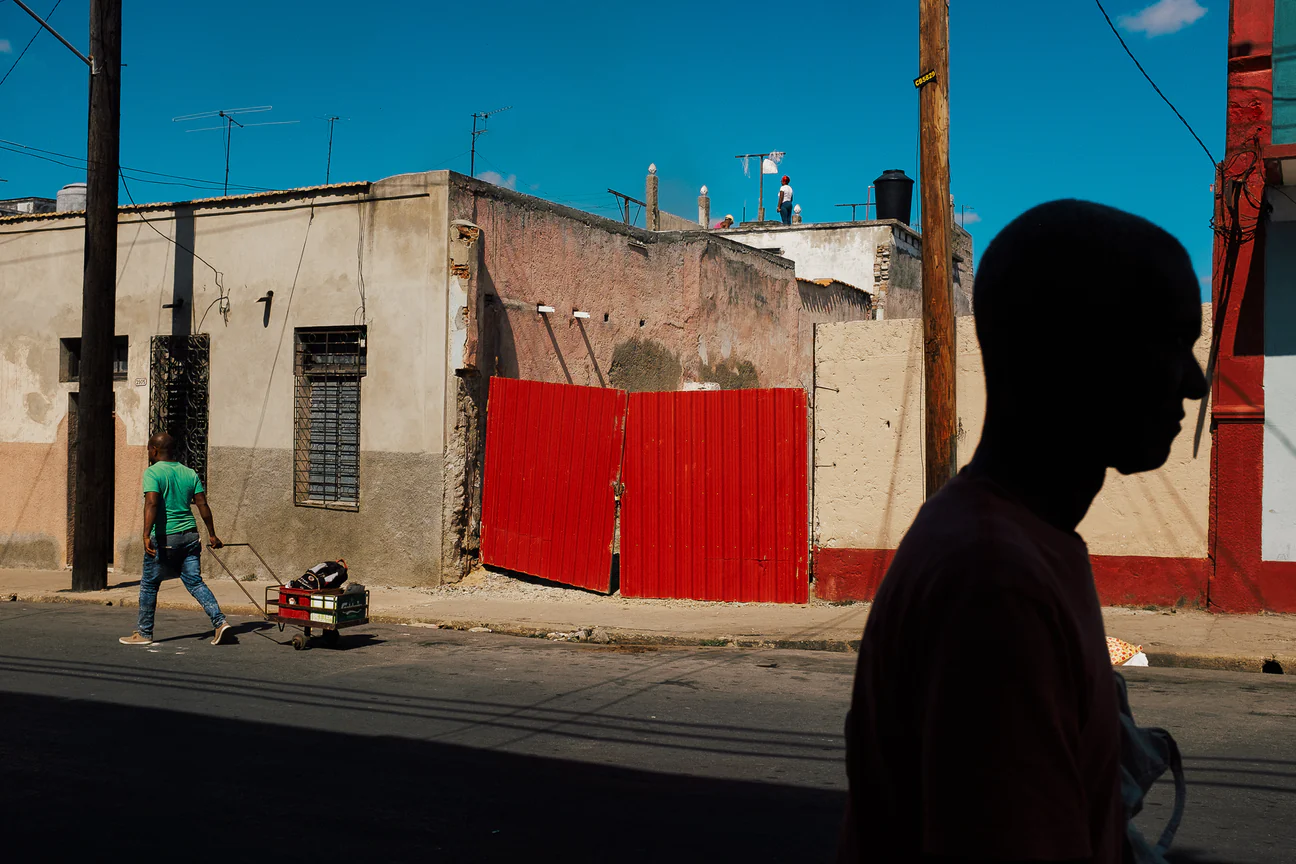
Over decades Kodachrome was a good friend to many photographers until Kodak discontinued this famous color film in 2009. Since than it was impossible to develop with the K14 Process.
I’ve started to late with photography and didn’t have any possibilities to shoot Kodachrome, but what should I say? I’m a analog guy in this digital world! So I’ve shot every other film you can think of. Kodak Tri-X400, Portra, Fuji Velvia. But I can’t stand the feeling, that I never had the chance to shoot Kodachrome 64. I’ve watched a documentary about the last roll of Kodachrome shot by Steve McCurry in 2014. This pushed my wish to shot this film even more.
So if it was impossible to shot Kodachrome as a 35mm film, it might be possible to emulate it digitally to recreate that great look of the most iconic color film? I’ve read all I can find about color profiles and how digital cameras really work, in order to get an insight on how Adobe Lightroom recreates looks and color. It was my aim to create a Lightroom preset, that works with any camera, that shoots raw. This was the start of my “Classic K14 Project”.
SAY HELLO TO KODACHROME 25, KODACHROME 64 AND KODACHROME 200!
2 Years later, my project comes to a successful end. I’ve managed to create a color profile and a Lightroom Preset to get the most accurate look of the latest Kodachrome version of the ’00s, which is possible with our digitale tools today. That was 2017.
Now, almost 4 years later, it’s time to make another effort. Yes, the Classic K14 presets were good, but they were mostly good guesses. Since then, a lot has happened for me and I’ve learned a lot. My sense for colors could mature and so I took 2 years again and worked again and again on a better, more usable, more user-friendly and more authentic Kodachrome look. The work is now done.



Comments0